


Halloween is just around the corner, and it’s the perfect time to get creative with some easy Halloween crafts for kids! These spooky and ghost crafts are a great way to keep little hands busy and make some unforgettable memories together. From gooey slime to cute pumpkin crafts, there’s something for everyone. Let’s dive into 16 exciting Halloween crafts that your kids will love!
Math & ELA | PreK To Grade 5
Kids see fun.
You see real learning outcomes.
Watch your kids fall in love with math & reading through our scientifically designed curriculum.
Parents, try for free Teachers, use for free
1. Monster Handprint Craft
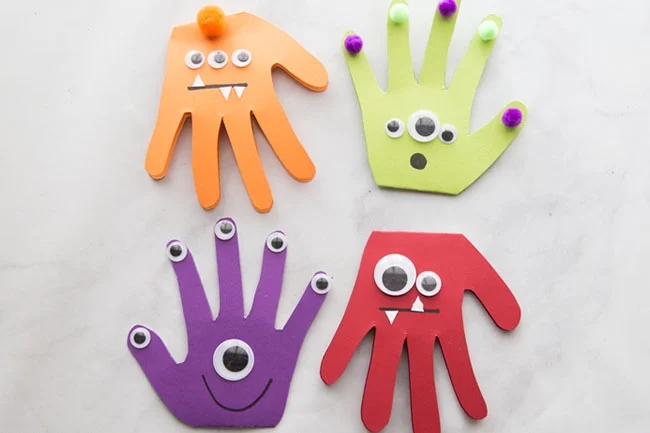
The Monster Handprint Craft is a fun and creative way for kids to turn their handprints into adorable or scary monsters. If you’re in search of kids’ Halloween crafts that allow kids to get hands-on and personal, this activity is a perfect pick.
Materials Required:
- Colored paper
- Paint (various colors)
- Googly eyes
- Markers
- Glue
How to Make It:
- Step 1: Paint the child’s hand with a chosen color and press it onto the colored paper to make a handprint.
- Step 2: Let the paint dry, then glue on googly eyes to turn the handprint into a monster face.
- Step 3: Use markers to add details like hair, fangs, or horns to complete the monster.
- Step 4: Display the monster handprints around the house as part of your Halloween decorations.
2. Ghost Lanterns
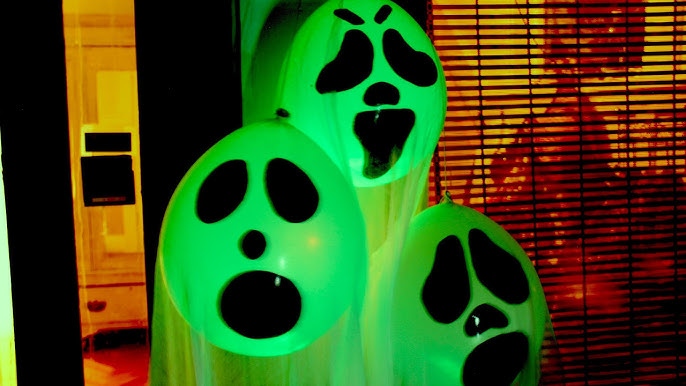
Ghost Lanterns are a fun and spooky way to light up your Halloween night! Kids will enjoy drawing ghostly faces on lanterns and hanging them around the house or yard. These glowing ghosts add a touch of eerie fun to any Halloween celebration.
Materials Required:
- White balloons or paper lanterns
- Black marker
- LED tea lights
- String
How to Make It:
Step 1: Inflate the white balloons or assemble the paper lanterns.
Step 2: Use a black marker to draw ghost faces on the balloons or lanterns.
Step 3: Place an LED tea light inside each lantern to make them glow.
Step 4: Hang the ghost lanterns using string in your home or outside for a spooky effect.
3. Paper Cup Monsters
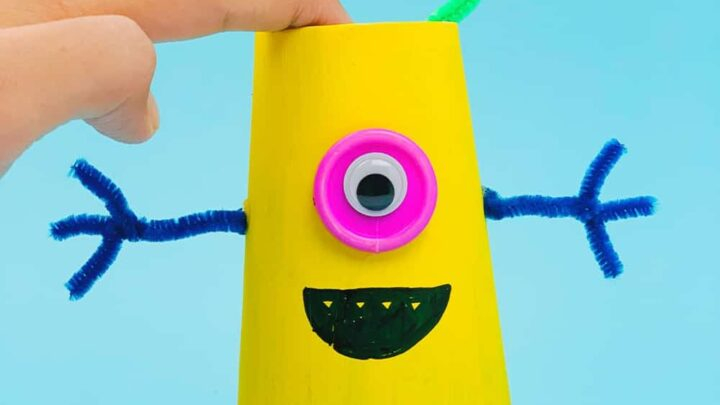
Paper Cup Monsters are a fun and easy way for kids to create their very own Halloween creatures. If you’re looking for simple halloween crafts for preschoolers that are both simple and engaging, this activity is a great choice.
Materials Required:
- Paper cups (various colors)
- Googly eyes
- Pipe cleaners
- Markers
- Glue
How to Make It:
- Step 1: Start by turning the paper cups upside down.
- Step 2: Glue googly eyes onto the cups to give your monsters some personality.
- Step 3: Use pipe cleaners to create arms, legs, or antennas, and glue them onto the cups.
- Step 4: Add details like mouths, fangs, or horns using markers or more pipe cleaners to complete your monster’s look.
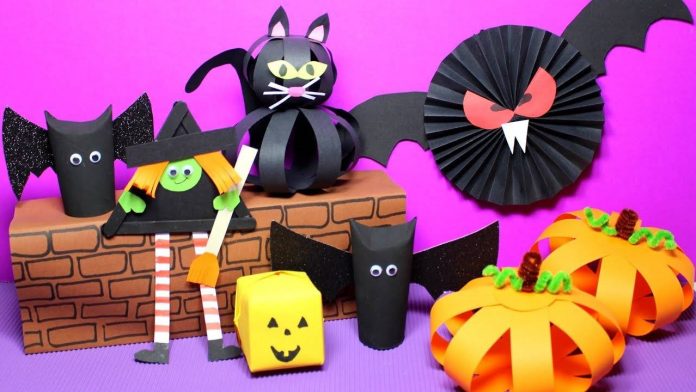
4. Yarn Pumpkins
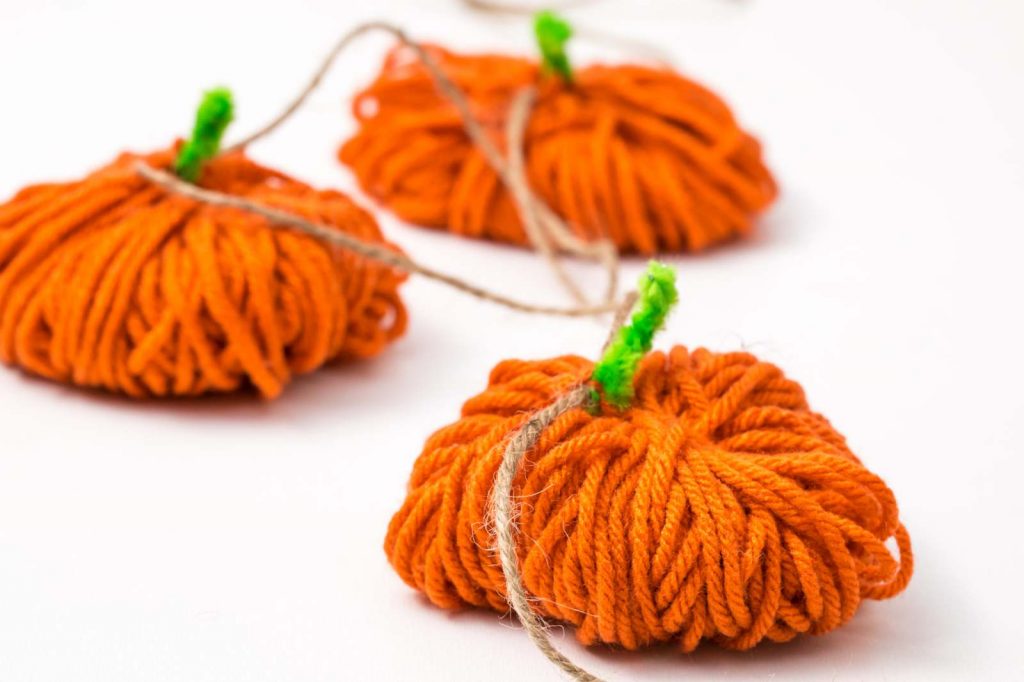
Yarn Pumpkins are simple crafts that kids will love. Wrapping yarn around a balloon creates a cute and cozy pumpkin decoration that’s perfect for displaying around the house. For those searching for fun Halloween themed crafts, this one is sure to bring smiles to your home.
Materials Required:
- Orange yarn
- Balloons
- White glue
- Scissors
- Green pipe cleaners
How to Make It:
- Step 1: Blow up a balloon to the size you want your pumpkin to be.
- Step 2: Dip the orange yarn into glue, then wrap it around the balloon, leaving gaps to create a pumpkin shape.
- Step 3: Let the yarn dry completely, then pop the balloon and remove it from inside the yarn pumpkin.
- Step 4: Finish by twisting a green pipe cleaner at the top to create a stem.
5. Popsicle Stick Ghost Window
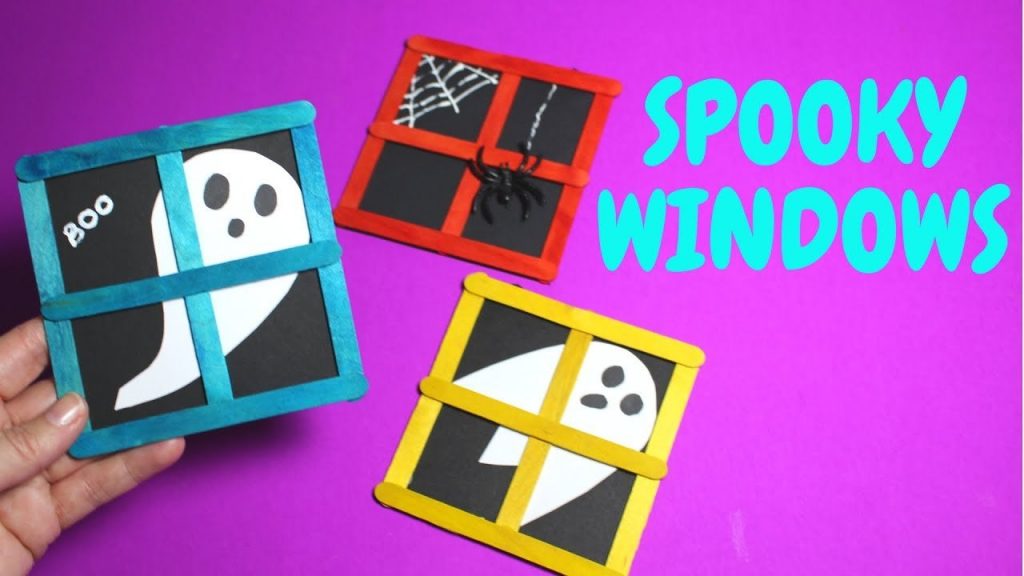
The Popsicle Stick Ghost Window is a fun craft that kids can create using just a few materials. This craft is all about making a little ghost peeking out of a popsicle stick frame, perfect for hanging in a window.
Materials Required:
- Popsicle sticks
- White paint
- Black marker
- White felt or paper
- Glue
How to Make It:
- Step 1: Paint the popsicle sticks white and let them dry.
- Step 2: Glue the popsicle sticks together to form a square window frame.
- Step 3: Cut out a ghost shape from white felt or paper, then draw eyes and a mouth with a black marker.
- Step 4: Glue the ghost behind the popsicle stick frame so it looks like it’s peeking out.
6. Pumpkin Rock Painting
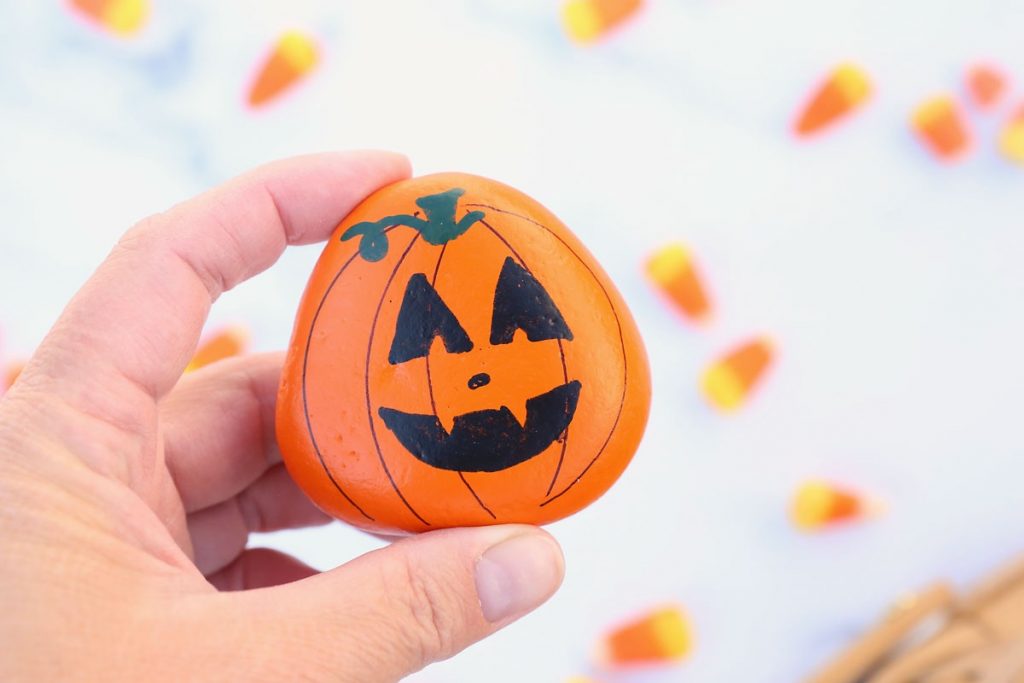
Pumpkin Rock Painting is one of the most fun halloween crafts for kids to do at home, where they can transform ordinary rocks into adorable pumpkin faces or other Halloween characters. It’s a great way to get creative and add a touch of Halloween spirit to your home or garden.
Materials Required:
- Smooth rocks
- Orange paint
- Black paint
- Paintbrushes
How to Make It:
Step 1: Collect smooth rocks of various sizes.
Step 2: Paint the rocks orange and let them dry completely.
Step 3: Use black paint to add jack-o’-lantern faces or other Halloween designs.
Step 4: Allow the paint to dry fully before displaying your pumpkin rocks around the house or garden.
7. Scarecrow Craft
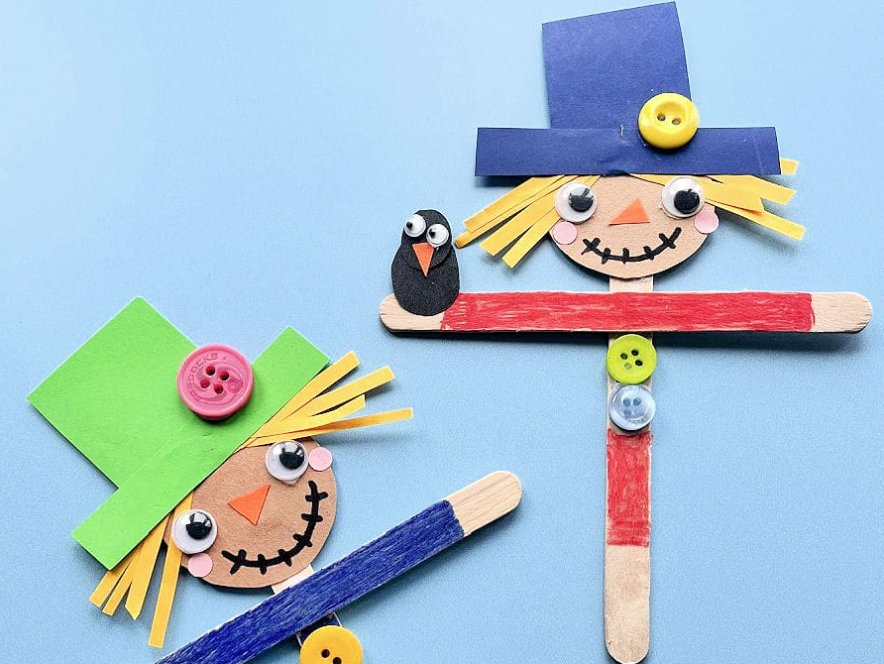
Creating a Scarecrow Craft is a fun and creative way for kids to celebrate the fall season. This craft involves making a mini scarecrow using simple materials, which can be a great addition to your Halloween decorations. If you’re looking for easy Halloween crafts for kids, this scarecrow craft is perfect for little hands to get crafty.
Materials Required:
- Wooden craft sticks
- Fabric scraps or felt
- Glue
- Markers
- Yarn or straw
How to Make It:
- Step 1: Start by gluing two craft sticks together to form a cross for the scarecrow’s body.
- Step 2: Cut fabric scraps or felt to create the scarecrow’s clothes, then glue them onto the craft sticks.
- Step 3: Use markers to draw a face on the scarecrow.
- Step 4: Add yarn or straw for the scarecrow’s hair and a small hat to complete the look.
8. Vampire Spoon Puppet
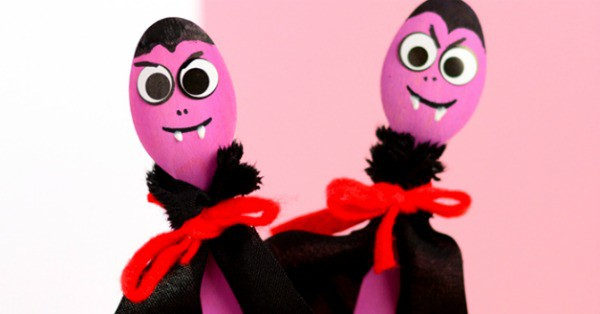
The Vampire Spoon Puppet is a simple yet fun craft that kids will enjoy making. By transforming a regular spoon into a spooky vampire, children can create their own Halloween puppet to play with or use in a homemade puppet show. If you’re searching for diy Halloween crafts for kids, this vampire puppet is a quick and enjoyable craft.
Materials Required:
- Plastic or wooden spoon
- Black felt or paper
- Googly eyes
- Red paint or marker
- Glue
How to Make It:
- Step 1: Paint the spoon’s handle black to create the vampire’s body.
- Step 2: Attach googly eyes to the spoon’s bowl and draw a vampire mouth with red paint or marker.
- Step 3: Cut out a cape shape from black felt or paper and glue it to the back of the spoon.
- Step 4: Add any extra details, such as fangs or a bow tie, to complete your vampire puppet.
9. Kirigami Spider Webs
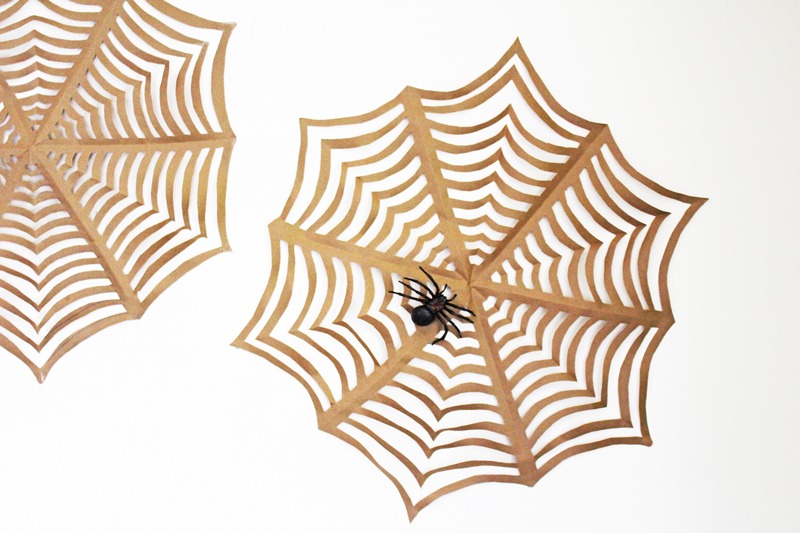
Kirigami Spider Webs are a fantastic way to teach kids the art of paper cutting while creating spooky crafts. This is one of the best spider crafts that involves folding and cutting paper to make intricate spider web designs, which can be hung around the house or classroom for a Halloween atmosphere.
Materials Required:
- Black or white paper
- Scissors
- Pencil
How to Make It:
- Step 1: Fold a square piece of paper in half diagonally to create a triangle.
- Step 2: Fold the triangle again to make a smaller triangle.
- Step 3: Use a pencil to draw a web pattern on the folded paper.
- Step 4: Carefully cut along the lines you drew, then unfold the paper to reveal your spider web.
10. Spooky Slime
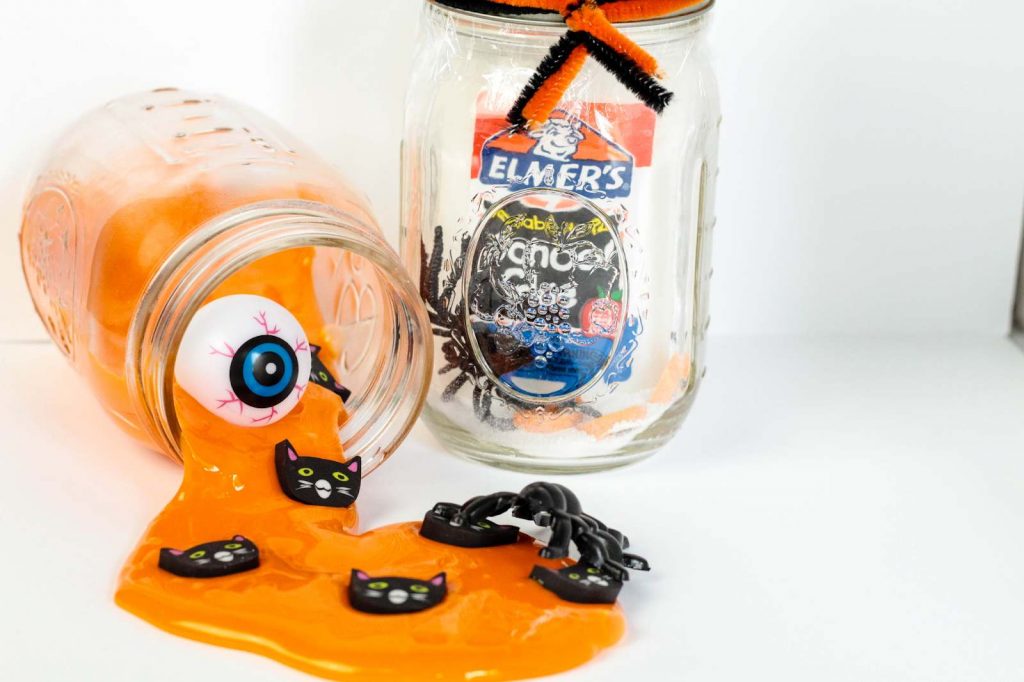
Spooky Slime is a gooey, squishy Halloween craft that kids will love! It’s all about mixing up some slime with creepy add-ins like googly eyes and fake spider legs. This craft is perfect for kids who enjoy getting a little messy while creating something fun and spooky. If you’re looking for Halloween crafts for kindergartners that are easy, this is a great option.
Materials Required:
- Glue
- Baking soda
- Contact lens solution
- Food coloring (green or orange)
- Googly eyes
- Fake spider legs
How to Make It:
Step 1: Start by pouring glue into a bowl and mixing in some baking soda.
Step 2: Add a few drops of food coloring to get a spooky shade, like green or orange.
Step 3: Slowly mix in contact lens solution until the slime starts to form.
Step 4: Once the slime is taking shape, mix in googly eyes and fake spider legs for that extra creepiness.
Step 5: Finally, knead the slime with your hands until it reaches the perfect consistency.
11. Paper Plate Witch
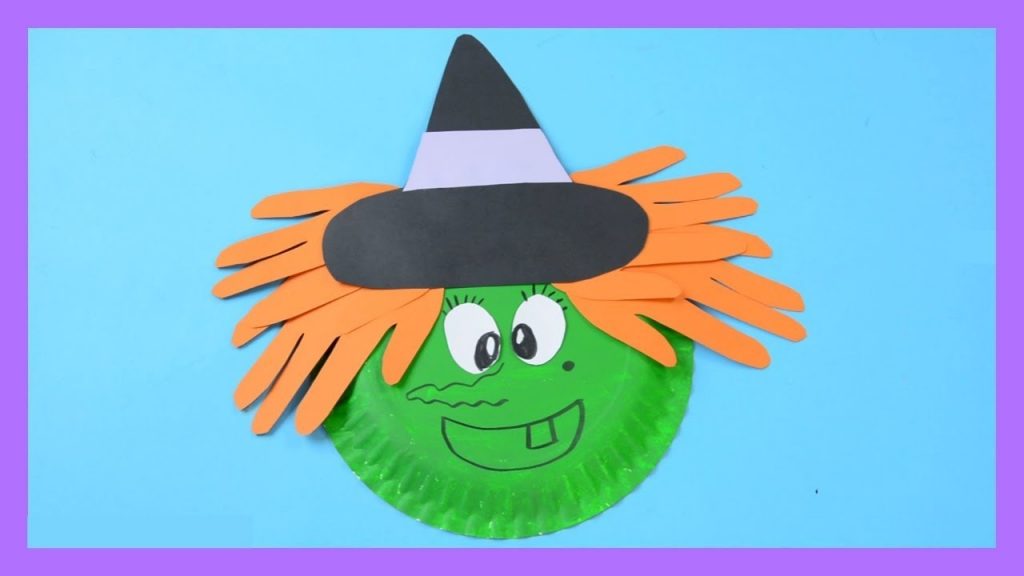
The Paper Plate Witch is one of the easiest witch crafts for kids that turns a simple paper plate into a spooky witch’s face. With some paint, construction paper, and imagination, children can create their very own Halloween witch to hang up as a decoration. This craft is particularly great if you are looking for elementary halloween crafts.
Materials Required:
- Paper plate
- Green and black paint
- Black construction paper
- Glue
- Googly eyes
- Markers
How to Make It:
- Step 1: Paint the paper plate green to create the witch’s face and let it dry.
- Step 2: Cut out a witch hat from black construction paper and glue it to the top of the plate.
- Step 3: Attach googly eyes and draw a mouth and nose with markers.
- Step 4: Add some hair using black yarn or cut strips of paper to complete your witch’s look.
12. Mummy Paper Bag Craft
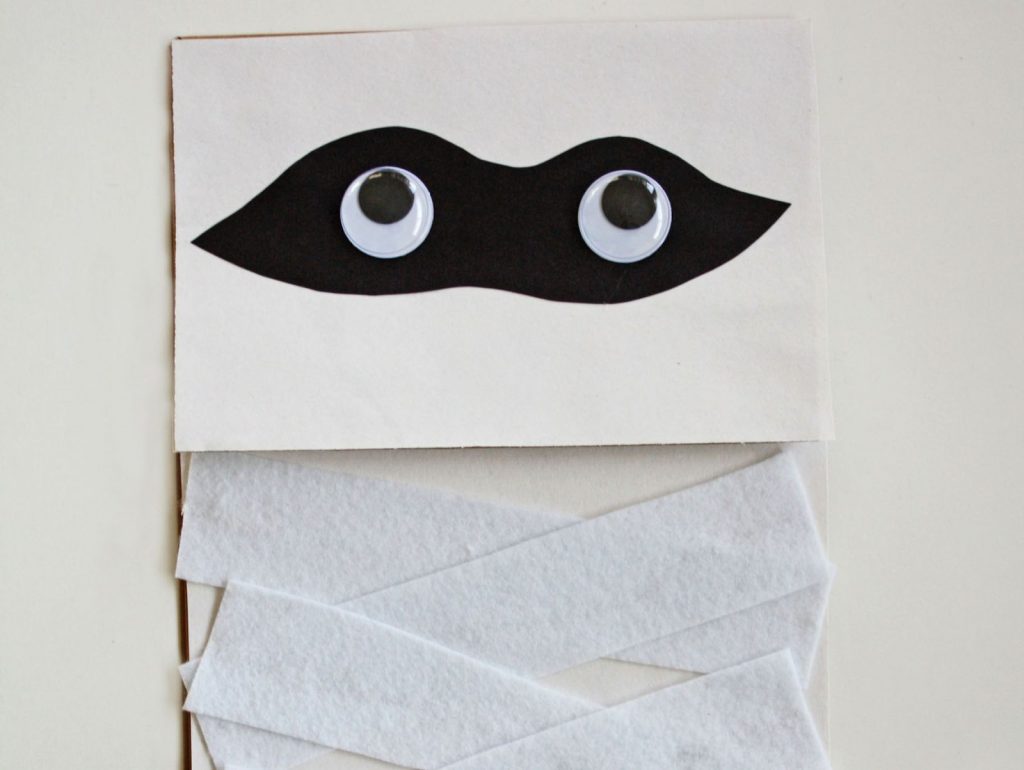
The Mummy Paper Bag Craft is a fun and simple craft that lets kids turn an ordinary paper bag into a spooky mummy. This craft is great for creating a little Halloween character that can also double as a puppet or treat bag. If you’re searching for easy mummy crafts for kids, this mummy is both quick and entertaining.
Materials Required:
- Brown or white paper bags
- White crepe paper or gauze
- Googly eyes
- Glue
- Scissors
How to Make It:
- Step 1: Start by cutting strips of white crepe paper or gauze.
- Step 2: Glue the strips onto the paper bag, wrapping them around to create a mummy effect.
- Step 3: Attach googly eyes near the top of the bag where the mummy’s face would be.
- Step 4: Let the glue dry, and your mummy bag is ready for Halloween fun!
13. Lollipop Ghosts

Lollipop Ghosts are cute Halloween crafts that turn ordinary lollipops into tiny, spooky ghosts. This craft is perfect for kids to make as a sweet treat to give out to friends or as a fun decoration for a Halloween party. These ghosts are an excellent choice when looking for easy halloween craft ideas for kids.
Materials Required:
- Lollipops
- White tissue or fabric
- Small rubber bands or twist ties
- Black marker
- Ribbon (optional)
How to Make It:
- Step 1: Place a piece of white tissue or fabric over the top of the lollipop.
- Step 2: Secure the tissue or fabric at the base of the lollipop with a small rubber band or twist tie to create the ghost’s head.
- Step 3: Use a black marker to draw a spooky face on the ghost.
- Step 4: Optionally, tie a ribbon around the neck for an added touch.
14. Make Witch Hat Headband

The Witch Hat Headband is a cute Halloween craft that kids can wear as part of their halloween costume or just for fun. This fun craft allows kids to create a small, stylish witch hat attached to a headband, perfect for adding a touch of magic to their Halloween outfit. If you’re exploring halloween craft ideas for school parties, this headband is both creative and fun.
Materials Required:
- Black construction paper or felt
- Scissors
- Glue
- Headband
- Ribbon, feathers, or other decorations
How to Make It:
- Step 1: Cut a circle and a cone shape from the black construction paper or felt to create the base and top of the hat.
- Step 2: Glue the cone to the center of the circle to form the witch hat.
- Step 3: Decorate the hat with ribbon, feathers, or any other fun decorations you like.
- Step 4: Attach the hat to a headband using glue, and let it dry completely before wearing.
15. Toilet Paper Roll Bats
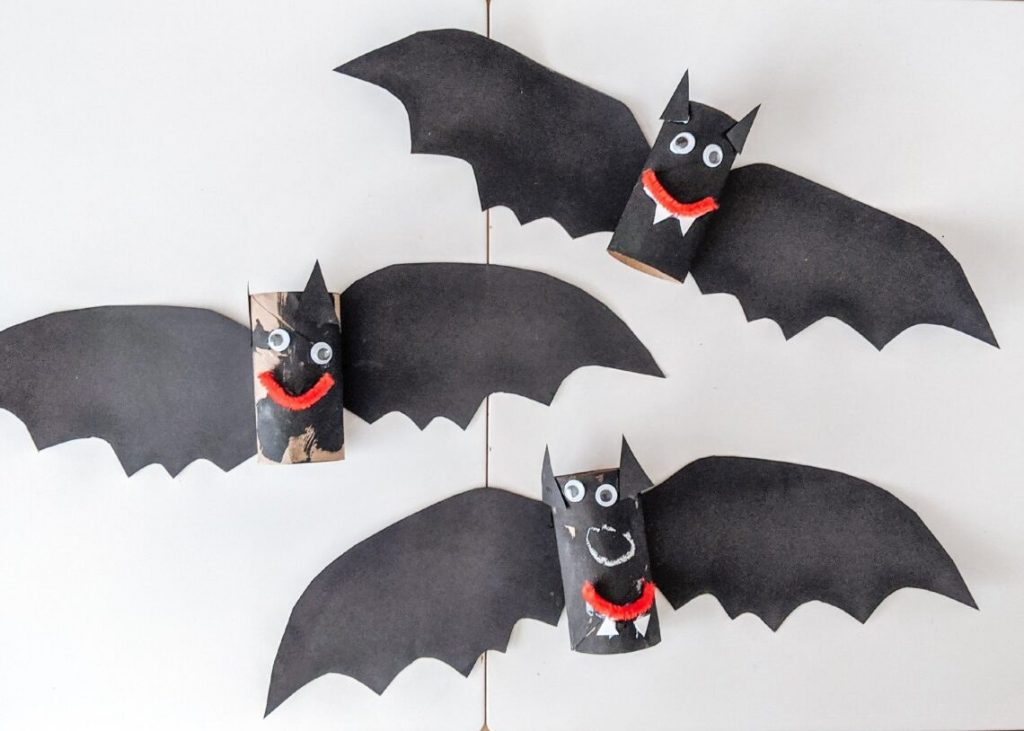
This fun and eco-friendly craft transforms empty toilet paper rolls into adorable little bats that can be used as decorations or even as part of a Halloween-themed mobile. If you’re searching for Halloween toilet paper roll crafts or bat crafts, this activity is a great way to recycle while getting into the spooky spirit.
Materials Required:
- Empty toilet paper rolls
- Black paint or construction paper
- Googly eyes
- Black cardstock or felt (for wings)
- Glue
- Scissors
- White marker or paint pen
How to Make It:
- Step 1: Start by painting the toilet paper rolls black or wrapping them in black construction paper. Let them dry completely.
- Step 2: Cut out bat wings from black cardstock or felt. Make sure they are proportionate to the size of the toilet paper roll.
- Step 3: Glue the wings to the back of the toilet paper roll.
- Step 4: Glue on googly eyes and use a white marker or paint pen to draw a small mouth, complete with fangs, on the front of the roll.
- Step 5: Once everything is dry, your bats are ready to be displayed. You can hang them from the ceiling or place them around your home as part of your Halloween decorations.
Enjoying these Halloween craft ideas? Explore more fun and creative crafts for every season and occasion! From summer to winter, and everything in between, find the perfect craft project for your kids.
- Thanksgiving Crafts for Kids
- Christmas Crafts for Kids
- Summer Crafts for Preschoolers
- Mother’s Day Crafts for Kids
- Spring Crafts for Kids
- Earth Day Crafts for Kids
- Father’s Day Crafts for Kids
- Animal Crafts for Kids
- Bunny Crafts for Kids
- Rainbow Crafts for Kids
- Winter Crafts for Kids
- Fourth of July Crafts for Preschoolers
Conclusion
These fun and creative Halloween arts and crafts are perfect for making the holiday extra special for kids. From spooky decorations to cute characters, these activities will keep little hands busy and bring festive joy to your home. Gather your supplies and enjoy some quality time creating memories together!
Related Reading: Best Halloween Activities for Kids

")


